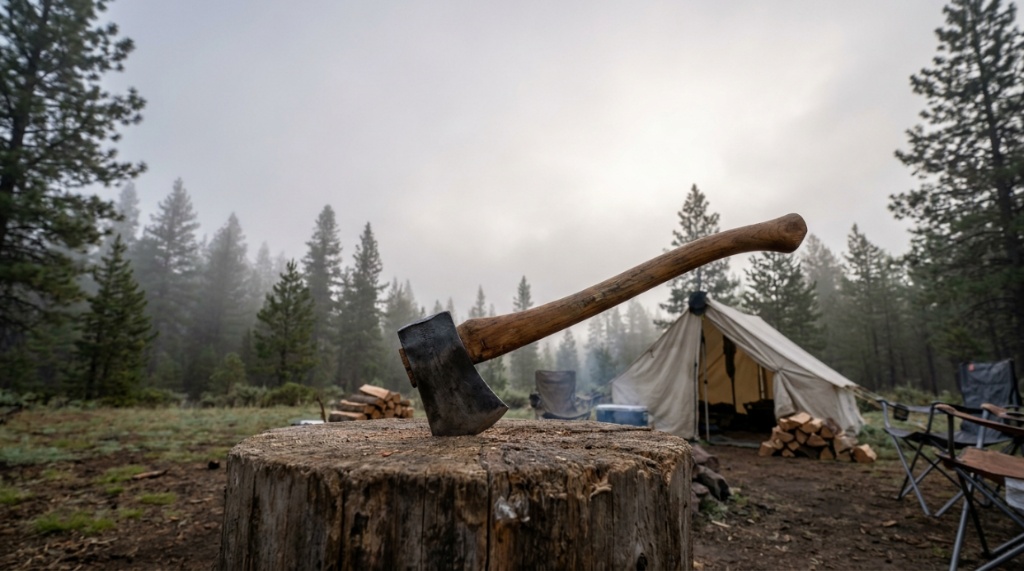
Three years ago, a solo hiker in the Boundary Waters sliced his shin open with his own axe while splitting wood at dusk — no cell signal, nearest road eight miles away, and a blood-soaked bandana as his only first aid. He survived, but the 47 stitches and helicopter evacuation bill taught him what proper technique would have prevented for free. A survival axe is a compact, multi-purpose cutting tool designed for emergency wood processing, shelter construction, and fire preparation in wilderness survival situations where no other tools or help are available. Used correctly, it keeps you warm, sheltered, and alive. Used carelessly, it becomes the most dangerous object in your pack. This guide covers every safety protocol, technique, and situational awareness skill you need to wield a survival axe confidently and injury-free in backcountry environments.
What Makes a Survival Axe Different From a Regular Camp Axe?
A survival axe prioritizes multi-functionality and packability over raw splitting power — typically featuring a hammer poll, pry edge, or integrated tools alongside the cutting bit, all in a package under 2 pounds that rides permanently in an emergency kit.
Key distinctions from standard camp axes:
- Multi-tool features: Many survival axes include a hammer poll, nail puller, pry bar, or even a ferro rod striker built into the handle
- Compact size: Usually 12–16 inches overall to fit inside packs or vehicle emergency kits
- Full-tang or one-piece construction: Eliminates the risk of head separation during emergency use when maintenance is impossible
- Aggressive edge geometry: Often ground thinner (20–25°) for versatility across chopping, splitting, and carving tasks
- Permanent carry design: Built to live in a kit indefinitely without maintenance degradation
A regular camp axe optimizes for one task — usually splitting. A survival axe compromises slightly on any single task to remain capable across many. This versatility matters when your survival axe is the only tool between you and a cold night in the wilderness.
What Are the Most Common Survival Axe Injuries and How Do They Happen?
The three most common survival axe injuries are shin/leg lacerations from glancing blows, hand cuts during carving tasks, and foot injuries from dropped axes — all preventable through proper technique and awareness.
Wilderness medicine data shows axe injuries spike under specific conditions:
- Fatigue: Tired muscles lose precision. Swings drift off-target. Grip weakens.
- Poor lighting: Dawn and dusk processing leads to misjudged aim and unseen obstacles.
- Wet conditions: Rain-soaked handles slip. Wet wood deflects blades unpredictably.
- Stress/panic: Survival situations create urgency that overrides careful technique.
- Improper stance: Standing too close or with feet in the swing path.
The critical insight: most injuries happen not during the swing itself but during the follow-through when the axe exits the wood or misses entirely. A controlled swing that terminates in a chopping block or the ground between your feet (with proper wide stance) eliminates the most dangerous injury vector.
How Should You Stand When Using a Survival Axe?
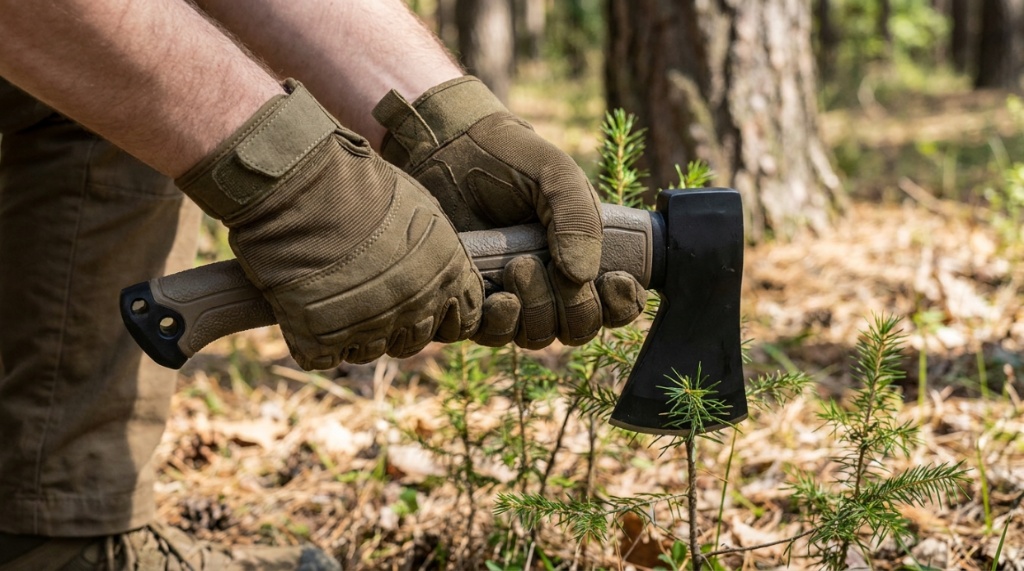
Stand with feet wider than shoulder-width, knees slightly bent, with the chopping block positioned so that a complete miss drives the axe blade into the ground between your feet — never toward your legs or body.
Proper stance is your primary safety mechanism. Here is the complete positioning protocol:
- Foot placement: Feet 1.5x shoulder width apart. Toes pointed slightly outward for stability. The target (chopping block) sits directly in front of your centerline.
- Distance from target: Stand at full arm extension plus axe length from the target. Your swing should reach the wood at the bottom of its arc — not while still descending.
- Knee bend: Slight athletic bend absorbs vibration and lowers your center of gravity for stability on uneven ground.
- Hip hinge: Power comes from hip rotation, not arm strength alone. Hinge forward slightly as the axe descends.
- Head position: Eyes locked on the exact strike point. Never look away mid-swing.
For kneeling tasks (carving, shaping while seated), position the workpiece on a stable surface away from your legs. Never hold wood in one hand while striking with the other — this is the single most common cause of hand lacerations in wilderness settings.
What Is the Safest Swing Technique for a Survival Axe?
The safest technique uses a controlled overhead arc with a sliding grip, where the dominant hand starts near the head for control and slides down to the pommel during the downswing for power — ensuring the blade path stays in your centerline away from your body.
Step-by-step safe swing protocol:
- Step 1 — Grip setup: Dominant hand chokes up near the head. Guide hand grips firmly at the pommel. This gives you control during the lift.
- Step 2 — Lift: Raise the axe to shoulder height (not full overhead for a survival axe — the shorter handle does not need a full arc). Keep elbows slightly bent.
- Step 3 — Downswing: As the axe descends, slide your dominant hand down the handle to meet your guide hand. This accelerates the head while maintaining directional control.
- Step 4 — Impact: Let the axe weight do the work. Do not muscle the swing — forced swings lose accuracy.
- Step 5 — Follow-through: The blade should terminate in the wood or the chopping block. If it passes through, it continues into the ground between your wide-set feet.
Never swing a survival axe sideways (horizontal chop) unless the target is elevated and your body is completely clear of the swing plane. Horizontal swings are the most dangerous because a miss sends the blade toward your legs or bystanders with full momentum.
How Do You Safely Process Firewood in a Survival Situation?
In survival situations, process firewood using the safest method available for each wood size: batoning for small splits, contact splitting for medium rounds, and controlled overhead strikes only for pieces requiring full axe power.
Survival wood processing prioritizes safety over speed because an injury in a survival scenario can be fatal. Use this hierarchy:
Safest: Batoning (for pieces under 4 inches)
- Place the axe blade on top of the wood
- Strike the back of the axe head with a wooden baton (heavy stick)
- The axe drives through the wood with zero swing risk
- Ideal for kindling and small splits
Moderate risk: Contact splitting
- Place the axe blade on the top of a round
- Lift both the axe and the round together
- Strike the chopping block with the round (axe embedded on top)
- The impact drives the axe through the wood
- No free-swinging involved
Highest risk: Overhead splitting
- Use only when wood is too large for batoning or contact methods
- Follow full stance and technique protocols
- Only attempt when well-rested and in good lighting
In a true survival scenario, default to the safest method that accomplishes the task. A few extra minutes of batoning is infinitely preferable to a laceration that compromises your survival.
What Safety Gear Should You Carry Alongside a Survival Axe?
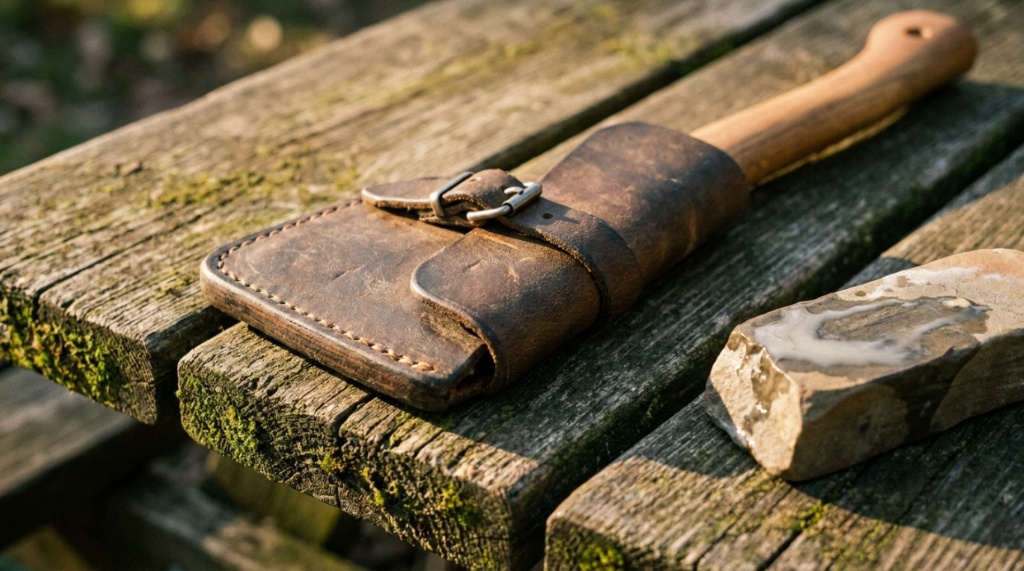
At minimum, carry a leather or Kydex sheath, work gloves, and a basic wound care kit (pressure bandage, antiseptic, closure strips) whenever using a survival axe in wilderness settings.
Essential safety companions for your survival axe:
- Sheath: Protects the edge during transport and prevents accidental contact. A survival axe without a sheath is a liability in your pack.
- Gloves: Leather work gloves reduce blister formation during extended use and provide a layer of cut protection. They also improve grip in cold or wet conditions.
- First aid supplies: Israeli bandage or pressure dressing (for deep lacerations), wound closure strips, antiseptic wipes, and a tourniquet for worst-case scenarios.
- Eye protection: Wood chips and bark fragments fly unpredictably. Even basic sunglasses provide meaningful protection.
- Sharpening tool: A dull survival axe is more dangerous than a sharp one. A small diamond card or puck stone weighs ounces and maintains safe cutting performance.
The first aid kit is non-negotiable. Wilderness axe injuries bleed heavily due to the sharp, deep nature of the wounds. A pressure bandage applied within seconds can mean the difference between a manageable injury and a life-threatening bleed when help is hours away.
How Do You Maintain a Survival Axe for Reliable Emergency Use?
Maintain a survival axe by sharpening after every use session, applying rust-preventive oil before storage, checking handle integrity monthly, and storing in a climate-controlled environment with the sheath on.
A survival axe that lives in an emergency kit faces a unique challenge: it must perform flawlessly after months or years of storage. Maintenance protocol for kit axes:
- Pre-storage: Sharpen to working edge, apply heavy coat of rust-preventive oil (Renaissance wax or camellia oil), sheath securely
- Quarterly check: Remove from kit, inspect for rust spots, check handle for cracks, verify sheath integrity
- Annual service: Full sharpening session, handle re-oiling (if wood), hardware tightening, edge geometry verification
- Post-use: Clean all wood debris and sap, dry completely, sharpen, oil, and return to kit
Rust is the primary enemy of stored survival axes. Even a thin rust layer on the edge creates micro-pitting that weakens the blade and reduces cutting efficiency. Climate-controlled storage and proper oil application prevent this entirely.
For reviews of survival axes that maintain performance in extreme storage and use conditions, top camp axes and hatchets tested in Alaska covers tools that endure sub-zero storage and demanding wilderness use — the ultimate reliability test for any survival tool.
What Are the Rules for Using a Survival Axe Around Other People?
Maintain a safety circle of at least two full axe-lengths (approximately 6–8 feet) in all directions, ensure bystanders are behind you and aware of your activity, and never pass an unsheathed axe hand-to-hand.
Group wilderness situations introduce additional hazards:
- Communication: Announce “swinging” or “chopping” before beginning work. Ensure acknowledgment from anyone nearby.
- Safety circle: No person, pet, or gear within two axe-lengths of the user in any direction. This accounts for deflections and flying wood chips.
- Passing protocol: Always sheath the axe before handing it to another person. If no sheath is available, present it handle-first with the blade facing away from both parties.
- Storage at camp: Sheathed and secured — never stuck in a stump or leaning against a tree where it can fall or be grabbed by children.
- Teaching others: Stand behind and to the side of a learner, never in front. Guide their first swings with verbal instruction only — never physically hold the tool with them.
In survival group scenarios, designate one person as the axe operator. Rotating users increases injury risk because each person has different technique habits and fatigue levels. One skilled operator working methodically is safer and more efficient than multiple people taking turns.
While mastering a manual blade is a foundational skill for any outdoorsman, modern camp setups and off-grid homesteads often require a mix of traditional and modern gear. If you are looking to supplement your manual tools with heavy-duty gear for larger clearing or building projects, understanding the standards of durability and battery life is essential. Learning how professionals choose the best cordless power tools can give you the exact framework needed to select high-performing, rugged equipment that won’t fail you when you’re far from a power outlet.
Conclusion
Using a survival axe safely in the wilderness comes down to three principles: proper stance that keeps your body out of the blade path, controlled technique that prioritizes accuracy over power, and situational awareness that accounts for fatigue, lighting, and bystanders. Default to the safest processing method available — batoning and contact splitting before overhead swings. Maintain your axe religiously so it performs when your life depends on it.
A survival axe is arguably the most important tool in a wilderness emergency kit. It provides fire, shelter, and the ability to process resources that keep you alive. But that same capability makes it the most dangerous item you carry if used without discipline. Learn these protocols on practice sessions at home, not during the emergency that demands them. Your future self — warm, sheltered, and uninjured — will thank you.
What survival axe do you trust in your emergency kit? Share your choice and any field lessons that improved your technique.
Frequently Asked Questions
Can I use a survival axe for self-defense against wildlife?
A survival axe can serve as a last-resort defensive tool, but it should never be your primary wildlife safety plan. Bear spray is 92% effective at stopping charges versus roughly 50% for firearms. An axe requires close range — exactly where you do not want to be with a predator. Carry proper deterrents and use the axe only if all other options fail.
How do I prevent blisters when using a survival axe for extended periods?
Wear leather work gloves, maintain a relaxed grip (tight grips cause friction), and take breaks every 15–20 minutes. If blisters form, cover them with moleskin or athletic tape immediately — do not pop them. Taping hot spots before they blister prevents the problem entirely. Conditioning your hands through regular practice also builds protective calluses.
Is a full-tang survival axe safer than a traditional head-and-handle design?
Full-tang designs eliminate the risk of head separation — the most catastrophic failure mode for traditional axes. A flying axe head is extremely dangerous. For survival use where maintenance may be impossible, full-tang or one-piece forged designs provide superior reliability. The trade-off is increased vibration transfer to your hands.
What should I do if I cut myself with a survival axe in the wilderness?
Apply direct pressure immediately with the cleanest material available. Elevate the wound above heart level. If bleeding is severe and does not stop with pressure within 10 minutes, apply a tourniquet above the wound. Clean with antiseptic when bleeding is controlled, close with strips if possible, and evacuate. Axe wounds are deep and often require stitches — do not attempt to continue your trip.
How cold is too cold to safely use a survival axe?
Below -20°F (-29°C), steel becomes significantly more brittle and can chip or fracture on impact. Bare metal also causes instant frostbite on contact with skin. In extreme cold, warm the axe head near (not in) a fire before use, wear insulated gloves, and use lighter strikes to reduce impact stress on cold-brittled steel.
Should I practice survival axe skills before an emergency?
Absolutely. Practice all techniques — splitting, batoning, carving, shelter building — in controlled settings before relying on them in emergencies. Muscle memory developed through practice prevents the technique errors that cause injuries under stress. Aim for at least 4–6 practice sessions before considering yourself field-ready with a survival axe.
Can children learn to use a survival axe safely?
Children aged 12+ can learn basic axe safety under direct adult supervision with age-appropriate tools (lighter hatchets, not full survival axes). Start with batoning only — no free-swinging until they demonstrate consistent safe stance and control. Never leave a child unsupervised with any edged tool regardless of their skill level.

You May Like

How to Improve Back Comfort with Your Office Chair in WA